Task Checklist Examples: 4 Checklists and a Template
These four task checklist examples cover meeting preparation, publishing, a software release, and an administrative request. Copy the closest example, then adapt its actions and final checks to the result you need.
Each example uses Markdown checkboxes. The template below adds work items, optional deadlines, and done criteria you can paste into a document. These are text examples, not a built-in template library or an automatic import feature in toodoori.
4 task checklist examples you can copy
Use the parent task title to state the result. Use the checklist to record the actions that produce and verify it.
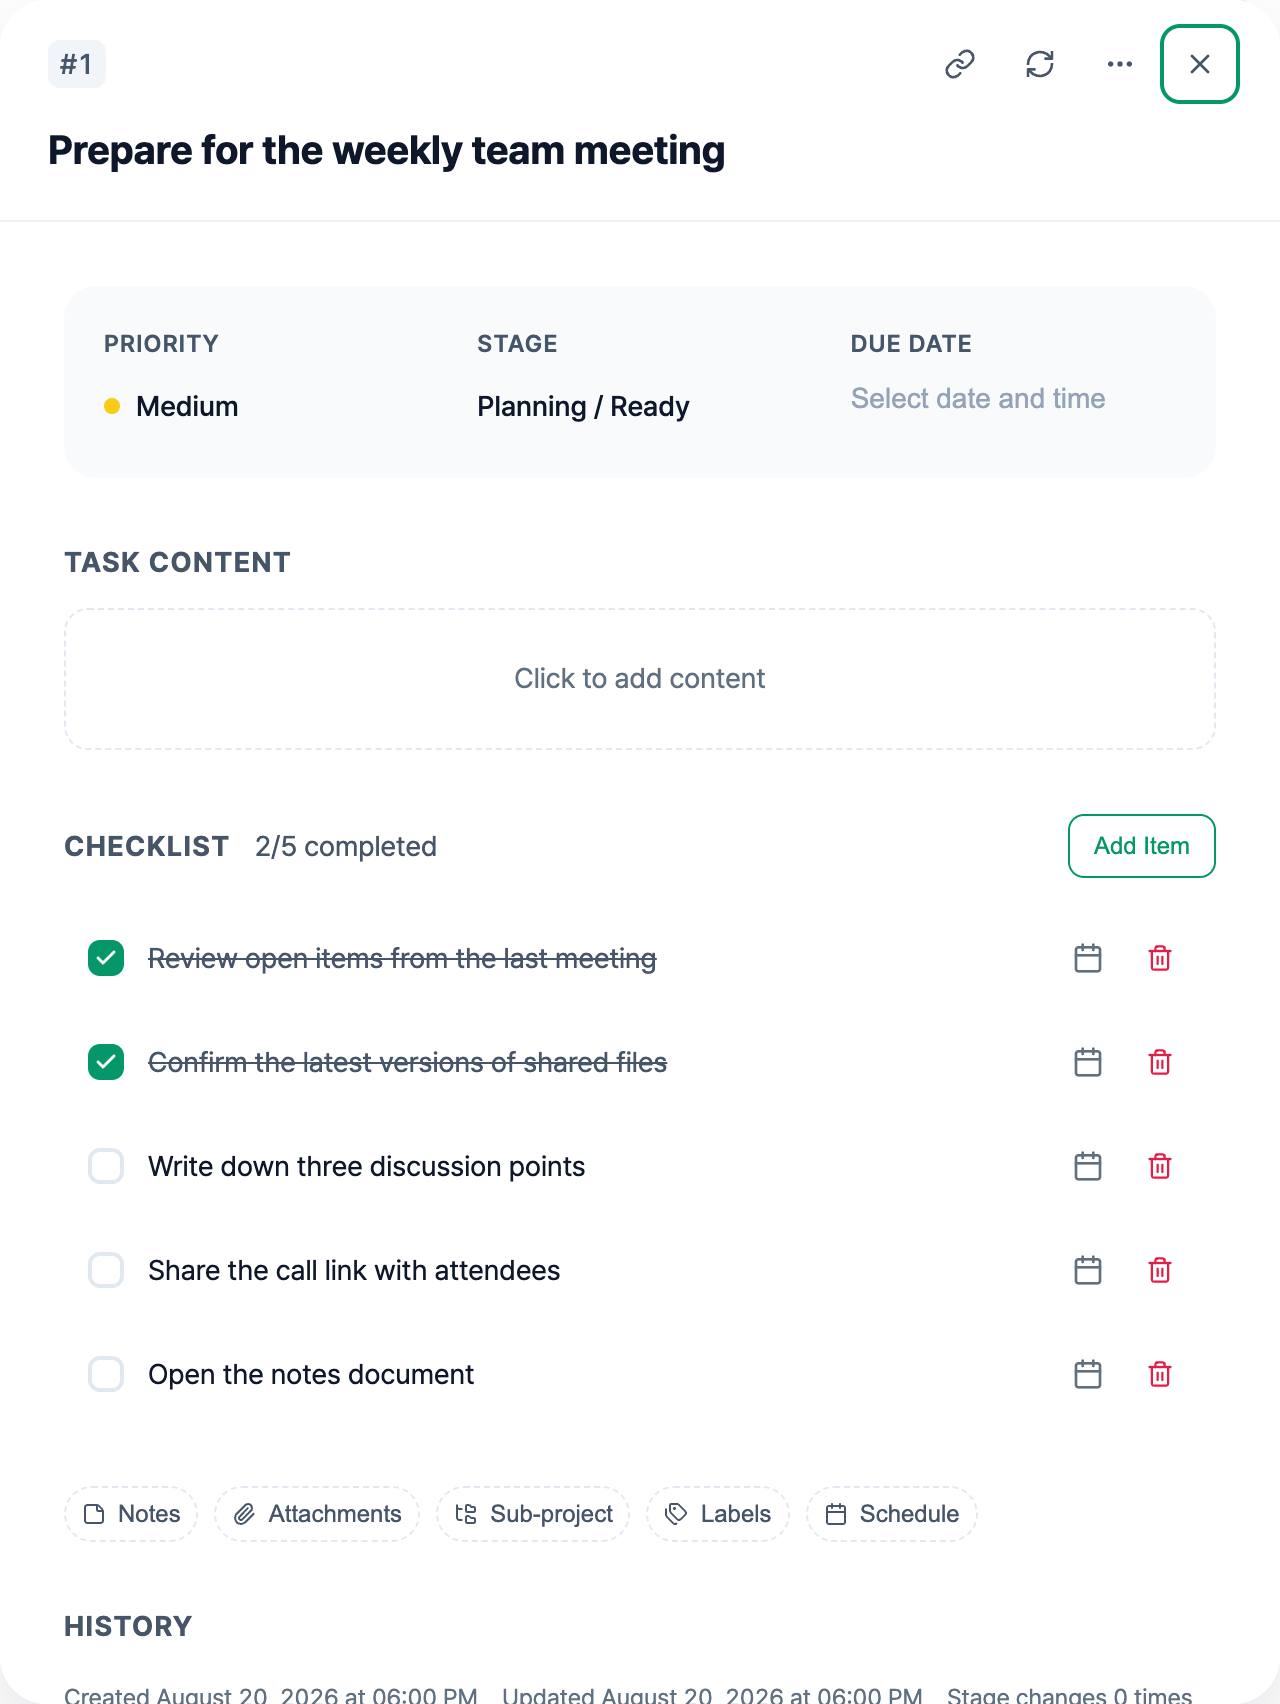
1. Prepare for a meeting
Parent task: Send the project review agenda, materials, and call link
- [ ] Confirm the meeting purpose and required decision
- [ ] Review the agenda and reference documents
- [ ] Update the slides with current information
- [ ] Write the questions that need answers
- [ ] Test the room equipment or video call link
- [ ] Send the agenda, materials, and call link to attendees
- [ ] Verify that attendees can open the shared materials
The final item checks whether attendees can open the materials you sent.
2. Publish a document or article
Parent task: Publish the onboarding article
- [ ] Confirm the audience and scope
- [ ] Create the heading outline
- [ ] Draft each section
- [ ] Verify factual claims against the source material
- [ ] Revise the title and opening paragraph
- [ ] Check headings, links, and image descriptions
- [ ] Run the spelling and formatting checks
- [ ] Publish the article
- [ ] Open the published page and test every link
This example separates writing, review, publication, and post-publication verification. Keep the final check after publication so it tests the page readers will actually open.
3. Release a small feature or fix
This example assumes a codebase with automated tests, a separate test environment, and a defined rollback process. Adapt those steps to your release workflow.
Parent task: Release the password validation fix
- [ ] Reproduce the reported problem
- [ ] Record the expected behavior
- [ ] Add or update a test that covers the problem
- [ ] Update the validation logic
- [ ] Run the targeted tests
- [ ] Review the code changes for unrelated edits
- [ ] Deploy the fix to a test environment, if your workflow uses one
- [ ] Verify the corrected behavior in the test environment
- [ ] Confirm the recovery or rollback plan
- [ ] Release the fix
- [ ] Verify the corrected behavior after release
The verification steps follow the deployments they check. The first confirms the corrected behavior in the test environment, while the last confirms it after release.
4. Submit a change-of-address request
Requirements vary by organization and location. Follow the current instructions from the organization handling the request, and adapt the example below.
Parent task: Submit a change-of-address request
- [ ] Read the current submission requirements
- [ ] Collect the required identification and address documents
- [ ] Confirm that each document is current
- [ ] Complete the request form
- [ ] Review names, dates, and reference numbers
- [ ] Attach the required documents
- [ ] Submit the request
- [ ] Save any confirmation number or receipt, along with a copy of what you submitted
- [ ] Record the expected response time and set a follow-up date if needed
The review step comes before submission. The last two items preserve the details you may need for follow-up.
A work checklist template with deadlines and done criteria
A checkbox says whether an item is complete. A done criterion says what you will check before marking it complete. Add a deadline only when the work needs one.
This filled-in example is for a fictional project landing page. The dates illustrate how to record a deadline; replace them with your own dates or leave them blank.
| Work item | Deadline (optional) | Done criterion |
| --- | --- | --- |
| Revise the introduction | 2026-10-14 | The text explains what the project does and who it is for |
| Capture the screenshot | 2026-10-15 | The image shows the current project and has an image description |
| Test the contact link | Before publication | The link opens the intended destination |
| Check the public page | After publication | The layout works at phone and desktop widths, and every link opens |
To reuse the table, replace each work item, deadline, and done criterion. Keep supporting notes outside the table so each row stays easy to scan. In toodoori, Task Cards explains how to enter checklist items and mark them complete.
How to adapt a task checklist
- Name one result. “Submit the change-of-address request” is more specific than “Address change.”
- Use a verb and an object. Write “Attach the receipt” rather than “Receipt.”
- Order dependent actions. Put “Open the published page” after “Publish the article.”
- Add a final check. Name the evidence that tells you the result is ready, such as a working link or a submission receipt.
Keep context in a note when it does not describe an action. “The meeting is on Thursday” is useful information, but it is not an item you can complete.
When part of the checklist needs its own task
If a group of items needs a separate progress state or its own task details, review whether it belongs in a subtask. A separate due date alone is not enough to decide: toodoori checklist items can have their own due dates.
Work Breakdown: Checklists, Subtasks, and Dependencies explains the distinction using one project. It also covers ordering relationships between separate tasks.
How to reuse a checklist after completion
Review the checklist once the task is complete, while the sequence is still easy to recall.
- Add any step you performed but had not written down.
- Remove one-time details, such as a specific meeting date or confirmation number.
- Replace changing details with clear placeholders, such as
[article title]or[submission deadline]. - Keep verification steps next to the actions they check.
- Save the revised text where you keep reusable checklists, then copy it for the next task.
Do not preserve a step only because it appeared in the first version. Keep it when omitting it would make the outcome unclear, incomplete, or hard to verify.
Related guides
- Task Cards for adding and checking items in toodoori
- What Is Personal Kanban? for the board-level method around tasks and cards
- WIP Limits: Choosing What to Start and What to Defer for guidance on work-in-progress limits